A Woodworker's Guide to Walnut
A Woodworker's Guide to Walnut
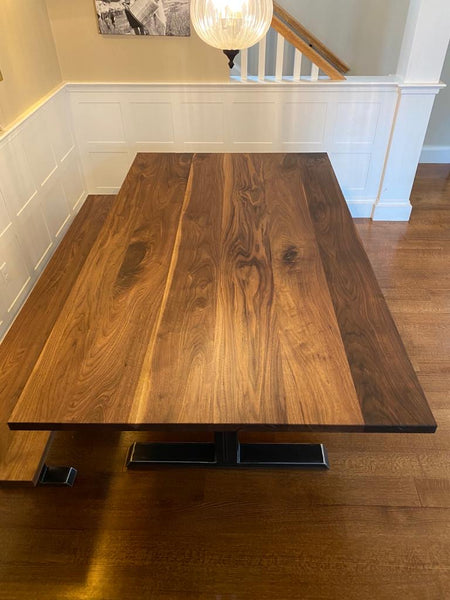
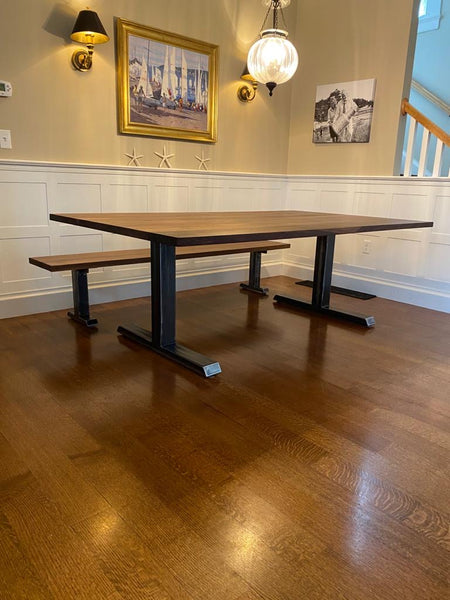
It’s really tough to beat the gorgeous finish of American Black Walnut when you’re building pieces of solid wood furniture.
Dark, classy, and a pleasure to work with and to finish (something that cannot be said about all hardwood materials – we’re looking at you, oak) there’s just something about the way that black walnut looks when it has been finished to perfection that sets it apart from everything else.
At the same time, though, it’s easy to look at a pile of walnut material and be more than a little bit underwhelmed at what you have to work with.
So often beautiful pieces of walnut that could have worked out nicely are left to rot simply because woodworkers aren’t quite sure of what to be on the lookout for to begin with.
Combine that with the fact that even the highest grades of walnut have their fair share of flaws and defects and it’s easy to see why there are so many craftsmen that get a little bit nervous about getting started with walnut – even though they know the finished product is always worth it.
Below we cover the basics of what you need to know about walnut so that you can start working with it with real confidence, producing beautiful pieces of furniture that will last a lifetime and then some.
How to Deal with Inevitable Knots
The last thing that any legitimate furniture or cabinetmaker – or any woodworker, for that matter – wants to deal with is a lot of knots littered throughout the clear sections of the wood that they are working with.
The cold hard reality of walnut, however, is that you are going to have an almost impossible time finding large stretches of completely clear material. Walnut trees just grow with a lot of branches on them, and all these branches equate into a decent amount of knots when the tree is turned into lumber.
Obviously you are still going to want to be on the lookout for lumber that is as clear as possible. Select ; Better walnut is the way to go whenever possible (having at least 83% clear on the best face), and you really should be picking any material to work with below this grade if it’s going to be shown off in your project.
Working With Walnut Sapwood
Every tree on the planet has a sapwood ring that woodworkers and craftspeople are going to have to work around.
The trouble here with walnut, though, is that the sapwood ring is quite a bit larger than it would be in other wooden species.
On top of that, the sapwood also has a pretty extreme variation in color compared to the hardwood that is much darker – and that’s going to be big trouble when you’re looking for a more clear and consistent finish on your furniture or woodworking project.
Sapwood is allowed in every grade of walnut lumber, though the face of each individual board must have less sapwood than the back. You want to be on the lookout for walnut material that has at least 80% hardwood on its best face, helping to eliminate sapwood as much as possible even though you won’t ever be able to get rid of it completely.
Sure, you can find 90% hardwood and higher walnut on the market today. But if you think walnut on its own is expensive have a look (just for fun) at the prices on 100% hardwood walnut.
It makes regular walnut look like a downright bargain.
How Steaming Changes Walnut (And Why It Matters)
Every major lumber supplier that deals in walnut is going to run it through a steaming process, a process done to minimize the major color disparity that exists between the hardwood and the sapwood – the color disparity we mentioned just a moment ago.
In theory and in practice, the steaming process does even out the color quite a bit between these two different parts of walnut wood.
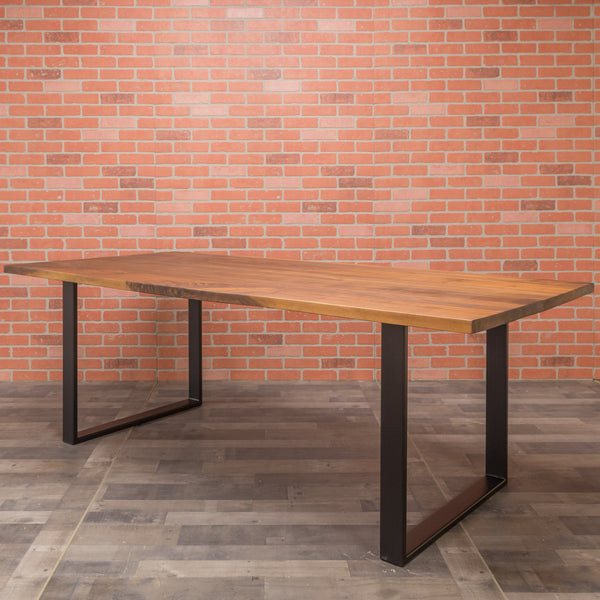
All you have to do to see this in practice is have a look at walnut that hasn’t been steamed to see the extreme contrast between the hardwood and the softwood (a definitive line will exist between the two, one that is unmissable) and compare it to walnut that has been steamed – with a more gentle gradient between the hardwood and sapwood.
At the end of the day, steamed walnut finishes up beautifully compared to non-steamed walnut. But when it’s all sitting at a lumber yard it’s going to look quite a bit “yellow” or grayish brown, almost completely washing out the beautiful purple, chocolate, and golden colors that natural walnut shows off brilliantly.
It’s up to you as a woodworker to understand that this steamed would is simply hiding its true colors away and that the finished product isn’t going to be anywhere near dull as it might look in a lumber yard.
Give it a proper finish and it will have an even more brilliant and even luster than natural walnut could ever hope for.
A Couple More Tips to Get the Most Out of Walnut
Just to cover a couple of other things you’ll want to consider when you’re starting to work with walnut:
Right out of the box expect that you are going to have more waste with walnut than you might have had with other hardwood materials.
Pick pieces of lumber at the yard with grain patterns that match up to your final vision as much as possible to minimize extra waste. But because of the knots and sapwood issues we highlighted above there’s always going to be a little more walnut left on the cutting floor than you anticipate. Plan accordingly.
Secondly, it’s never a bad idea to take advantage of walnut veneer to gloss over flaws in the walnut materials that you have been working with.
The very best, clearest walnut trees are always turned into veneer, and if you need something that looks absolutely picture-perfect and 100% free of knots when working in walnut veneer is the way to go.
Lastly, it’s always a good idea to finish your walnut with color in mind more than maybe anything else.
Oil-based finishes are going to bring out a lot of the light and a lot of the life in dark hardwood. A little bit of Danish oil that has been tinted darker or even a thin oil walnut stain can also bring out a bit of the natural contrast in this would, something that can really breathe new life into the open grain of walnut that you’re trying to show off.
Clear sealers are the way to go as well, as they guarantee that you are able to highlight as much of the natural beauty of walnut as possible. They can be a little bit finicky to work with depending on your other finishing choices but are well worth the extra time and patience required to turn walnut into something truly spectacular.

Post a Comment!